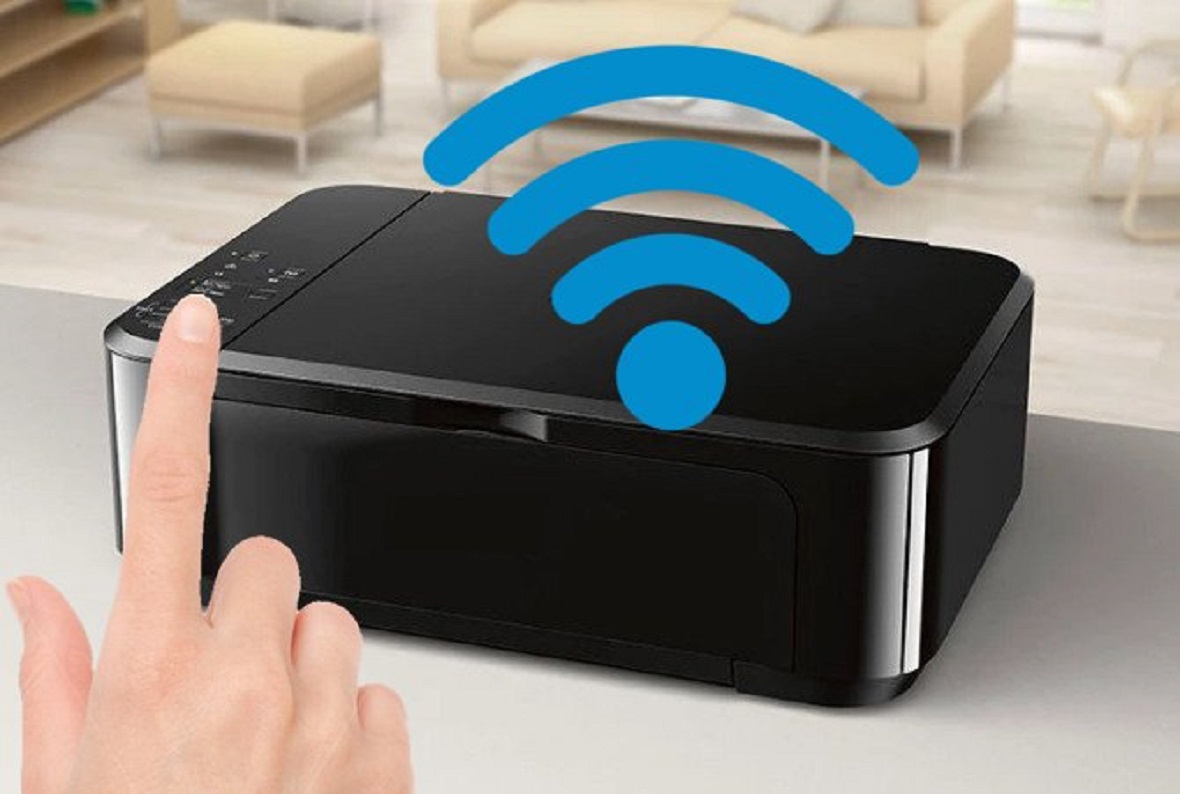
It's a lot easier to print wirelessly. Here are three straightforward, step-by-step methods for connecting your Canon printer driver to WiFi, so you'll be able to select one that works for you!
Canon printers can be linked to a wireless network by sending router information to the printer via a smart device, connecting the printer to the router via the Canon Print Inkjet app, pushing the WPS button, or entering a WPS pin code.
To effectively connect to a wireless network, the printer must, of course, be plugged in and powered on.
A shared connection or Wi-Fi is used to establish the connection between a wireless Canon printer & Scanner and a commanding device. As a result, connecting your printer to the same Wi-Fi network as your computer is essential.
Check the Following Two Elements, (A) And (B), Before Connecting This Printer to The Network.
(A) Your wireless router is the equipment that connects your home's network devices (computer, printer, etc.) to the Internet and allows them to communicate with one another. For the process outlined here, you'll need a wireless router. Your wireless router must be set up before you can use your printer over a wireless network.
(B) The computer that will be used to print must be networked. Try browsing the Internet website from the computer to see if it's linked to the network.
WPS Connection
Using WPS, you can connect your Canon printer to your wireless network.
First, verify sure your Wi-Fi router has a WPS button before proceeding with this procedure. The router must also support the WPA or WPA2 security protocols.
To begin, turn on the printer by pressing the power button. WPS Button is also used to turn on your Wi-Fi router.
Then, using the touch screen, go to the printer 'Home' and push and hold the 'WiFi' button.
Select the 'LAN Wireless Setup' option and then press 'OK.' At this point, your printer will look for your wireless network's access point.
Select a Wi-Fi Network (named Canon in your router setting).
Then, select the Wi-Fi access point, which will prompt you for a passcode or WPA key. Now type in your Wi-Fi password and press the 'OK' button.
The procedure of connecting your Canon printer to your Wi-Fi router access point will take a few moments.
At this point, the Canon printer and the router will automatically connect.
The power and WiFi lights will stop flashing once the wireless connection is complete. Instead, they will remain lit indefinitely after the link is made.
Please follow the same steps for all Models : Canon Pixma TR4520 , MG3620 , MG2522 , TS35 , G6020 , TS202 , MX92 , TS6420 , TR150 , G7020 , iP87 SERIES , TS5320 , G3260 , MB27 ,PRO 200 , MG2525 , IX6820 ,GM4050 ,Canon-imageCLASS D570,Canon-imageCLASS D1620


Comments
Leave a Reply
Your email address will not be published. Required fields are marked *